Thursday, November 15, 2012

DIY 91 - 94 Tercel Down Pipe/Manifold Replacement

 This is a DIY on a down pipe for a Tercel but while doing this DIY I ran into problems with the exhaust manifold and replaced the gasket and studs .


Make sure when your doing this job you have the car as high as you can safely on jack stands .


Always remember to make sure the one you are replacing is the same as the one you took off .


First you start off by removing the plug for the oxygen sensor then remove the two studs from the down pipe to the exhaust manifold .


This case replacing the nuts and bolts is the best way so I cut them off remembering when putting this back on you put these back on the same way you took them off these keep the pipe from shaking and rattling .


Then you put the oxygen sensor back on the down pipe .


Now when removing the exhaust manifold you must remove the intake and heat shield then you remove the six nuts holding the exhaust manifold .


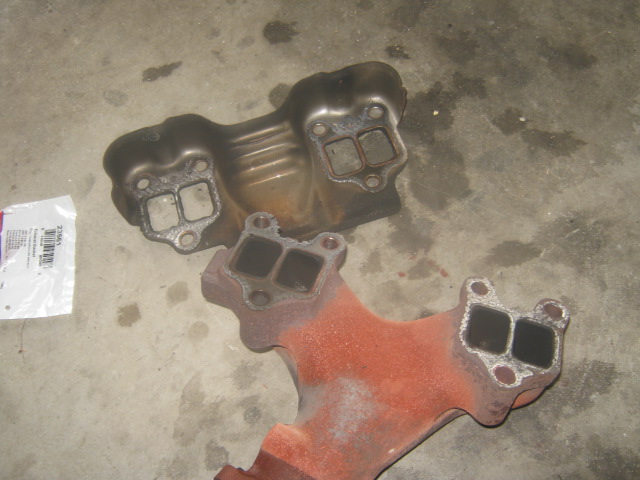
Remember there is a heat shield that you must put back and the exhaust manifold gasket goes inside the heat shield when you are putting the manifold back .


In my case my two way studs were stripped so I replaced them . This is a very easy thing to do make sure you check for damage threads to the manifold .  DO NOT USE A VISE GRIP WHEN PUTTING THIS BACK ON  . Hand tight once you tighten the down pipe to it the nut will tighten the rest .


Again make sure you have the heat shield first then the manifold gasket then the manifold in that order , Some people use a light coat of red exhaust manifold silicone for help or if you have headers sometimes it is best to use it because of the higher heat on the gasket will eat it .


Then remembering to use the donut gasket that goes on the down pipe upper and lower ends again if you choose to use a light coat of the red silicone you can but when you tighten down on the pipes and manifold the gaskets will crush into place .

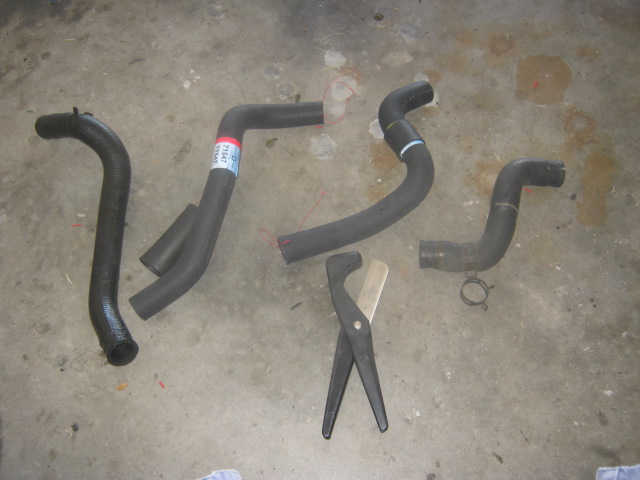
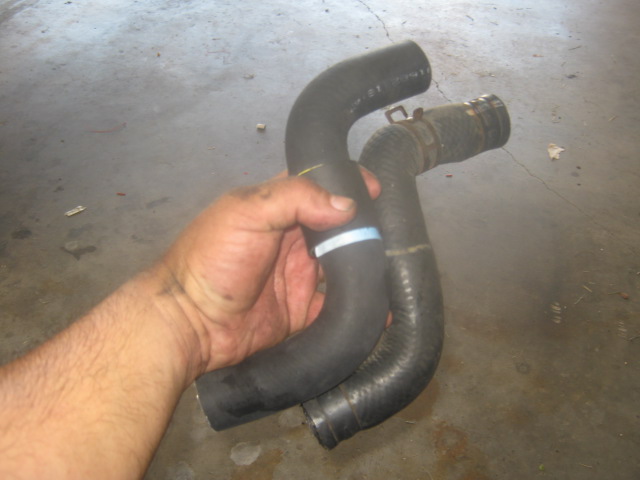
Now there was a bracket that held the pipe by the oil pan mounted to the block . If your down pipe doesn't come with one then use a metal clamp and clamp the pipe to the bracket as in photo .


Remember to return everything back then start your vehicle and carefully check for leaks , You will see alot of smoke coming off the exhaust manifold that is the gasket molding into place .


More info @ www.CorollaCarClub.proboards.com or http://rinconrolla98.blogspot.com


.

DIY 91-94 Tercel Front/Rear Strut Spring Replacement


This DIY is for a front and rear spring replacement , But you can use this DIY to replace your struts as well .


First you remove the front brake line to the strut then you mark your strut bolts so when you put them back you can get as close as you can with the alignment .


Then you loosen up the bottom bolts on the struts then you go to the top of the strut and remove the three nuts . In this photo you will notice how the strut mount looks like a oval shape , When putting this back on it must me the same way .


Once you have the strut out then you use the spring compressor , Vise grip to hold the center strut from spinning as you remove the center nut on your strut .


Once you have the spring out then you do everything in reverse order making sure you put back the bump stop in the center of the strut .


Make sure you have the gap on the strut mount is towards the fire wall or else your strut will be out of alignment and possible do damage to your tires . Once you have the front struts on correctly then you tighten all your nuts and bolts .


Now for your rear struts you must remove the plastic cover then you will see two nuts .


Then you go to the bottom of the strut and remove the one bolt going through the center of the strut .Then using the spring compressor as was done on the front struts and do the same thing .


With the rear one it has a nipple to clamp on to or a tool that fits and holds the center rod on the strut . You can loosen it up while the strut is on the car or you can do this while the spring compressor is applied off the car .


Once you have replace the spring then you do the reverse and put your rear strut on .

There you have a basic DIY for replacing struts or springs .

More Info @  www.CorollaCarClub.proboards.com


.

Sunday, October 21, 2012

DIY - Tercel 91-94 Thermostat/Hose Replacement

 
This is a DIY on how to replace your thermostat and your hoses .


First thing you do is drain your anti freeze and remove the intake hose .


Once you have drained everything then you remove the top and bottom hose .


Removing your thermostat housing then disconnect the thermostat temperature wire , Always remember how the thermostat faces when you remove the housing .


Then you flush out your radiator and your head with a hose forcing out the old anti freeze . Clean off your thermostat housing especially where the hose clamps on . Make sure you clean all the areas before putting your new hoses back .


Check all your hoses and clamps . Some hoses are cut to fit , make sure when measuring you mark it before you cut . You don't want these hoses to kink so make sure you cut straight . 


Then you put the new thermostat rubber gasket on completely in my case I added a tiny bit of water pump gasket maker , You don't have to do this cause the rubber gasket will seal it but you do what you want in my case I use it . Making sure the thermostat is facing the correct way and the gasket sits inside the housing and when you put this back make sure it is flat before putting the screws on . The gasket must not get pinched .


Then you put your hoses and new clamps on . I always make sure when putting the clamps on that the nut faces me for future work so that it is easier to take on and off . Auto parts store sell a gel to put inside the hose so that it would make it easier to take off on future jobs .


The I removed the over flow tank and cleaned it out and taking out the old anti freeze so I wouldn't contaminate the new one . Never put water in here . If you live up north it will freeze and break the plastic .


You can purchase the 50/50 pre mixed anti freeze or in this case I bought the concentrated and mixed it myself . If you have another container put half of the concentrated into it then fill the rest with water . Some areas where you live in the winter you want more anti freeze that way it keeps the heat in your car warmer but if you live in the areas it doesn't get as cold you mix 50/50 .


Then I filled up the over flow reservoir first filling it more then the full line so as the days pass what the car needs it will suck up . Check this in one week just in case you need to top it off . Then you can start adding to your radiator only half at first .


This is a good time to add some water wetter protectant and anti freeze cooler . This can be used in any state especially recommend if you do this is the summer in hotter states . Then start your car and put the heat on so that the anti freeze fluid can flow through and you can check and see as you are filling up the radiator .  If you get hot air coming out you are ok but after time and still no hot air then you have a air pocket . On some cars they have a bleeder valve on this one you just run the car till the thermostat opens and you will see the bubbles come out and see the anti freeze flow .


I wounded up with one whole container of anti freeze and 1/4 in the other . Then you check for leaks put everything back .
 
 
This is when I started the car .
 
 
This is after driving 6 miles with the air conditioning on .
 
 
This is after sitting for 5 minutes as you can see the water wetter is working and keeping the engine a little below the center line .
 
I recommend you never put only water in your radiator it will do more damage in the end . Check your hoses and fluid level in about a week as things settle .


More information or help you can contact me at www.CorollaCarClub.proboards.com or http://rinconrolla98.blogspot.com