Showing posts with label 花冠汽車俱樂部. Show all posts

Thursday, February 26, 2015

DIY Removing & Replacing Rear Struts 2000 Toyota Camry

This is a DIY for rear struts on a 2000 Toyota Camry


First you have to remove the bottom portion of the rear seat and then remove the side corners ONLY if you have fold down seats . If you DO NOT have fold down seats you have to remove the entire back seat . This is how you get to the rear strut mounts .


Remove the bolt for the brake line and the rear ABS wire .
 
 
Then from there you loosen the strut bottom bolts only removing the nuts


Then remove the rear sway bar links
 
 
Once you remove everything above in the photos either place the tire or a block and this is to prevent the rear drum to drop and ripping apart the ABS wire cause the drum will go to almost near the floor . One you secure that then you can remove the bolts that hold the bottom strut
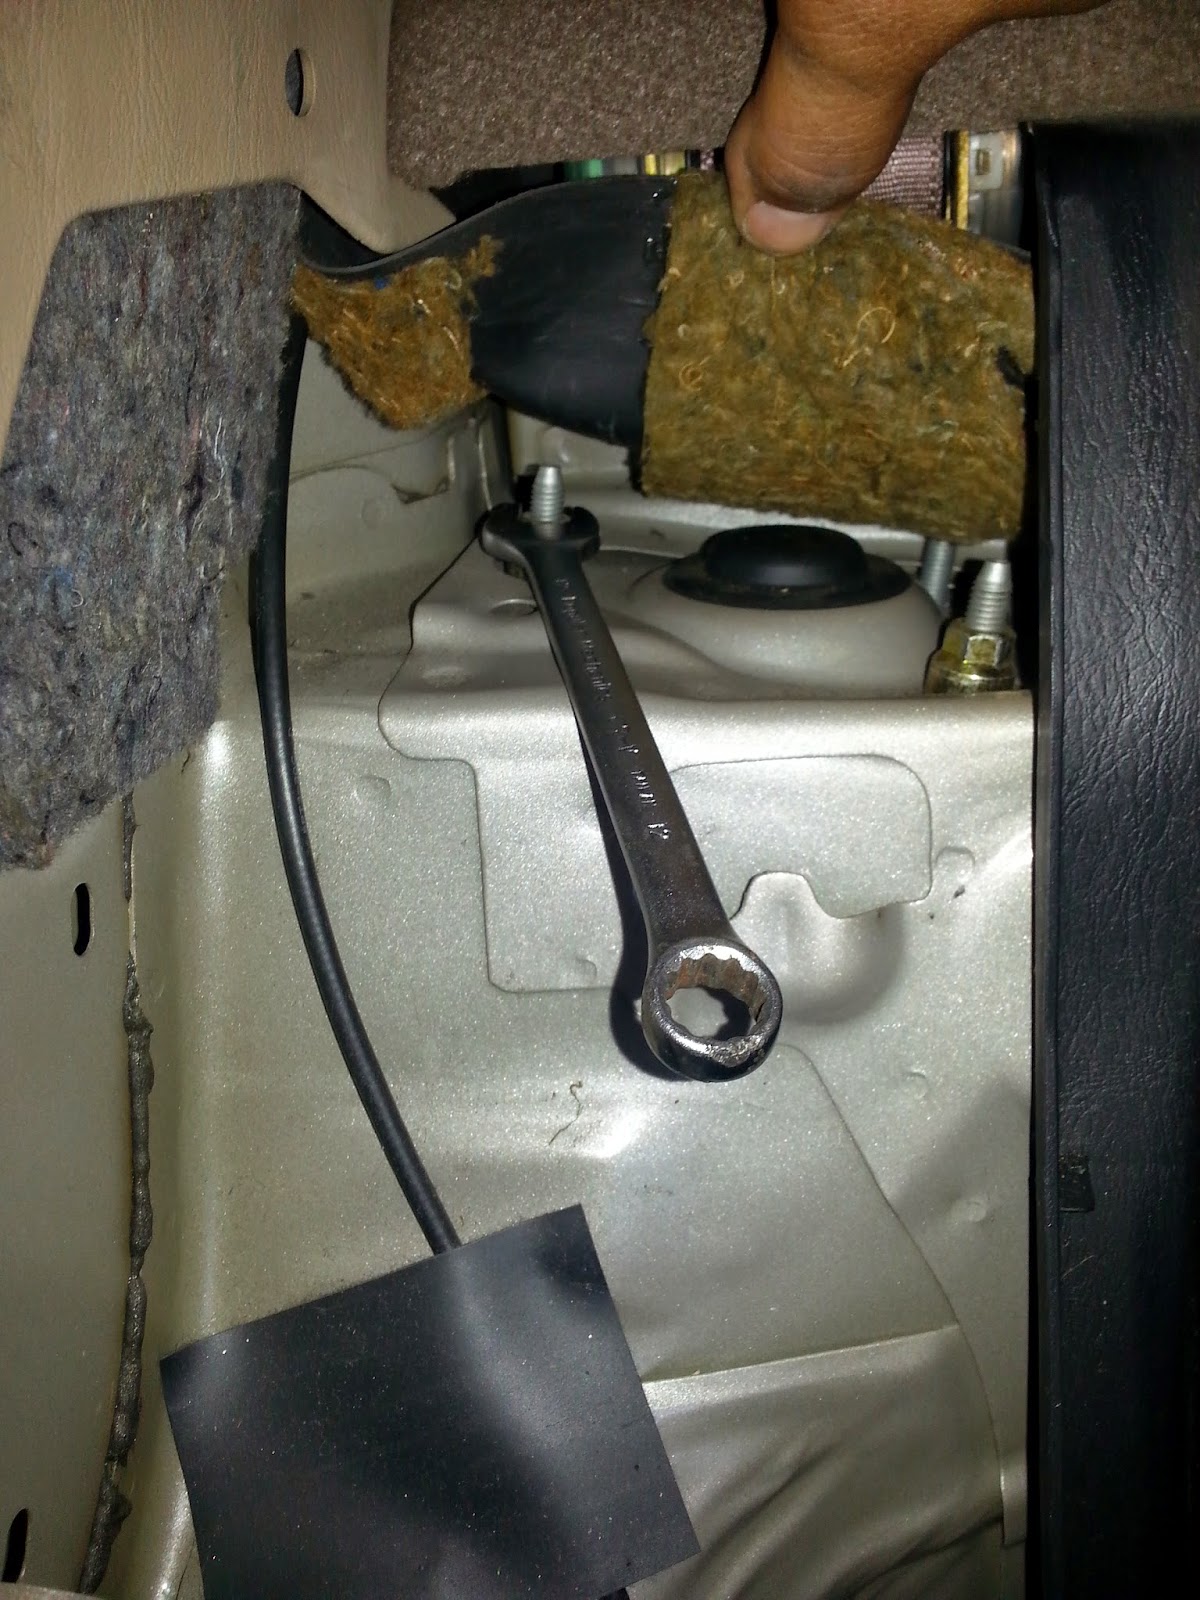
 

 Then from there you can remove the top nuts for the strut mount and then the strut will drop on the support rear area .


What I found out about this DIY is that the rear springs aren't as difficult to remove with out a spring compressor tool . But if you don't feel safe use one . In my situation I didn't need one and when I put the spring on the new strut I hand pushed it down to put the top nut on .
 
Remember if using the old strut mounts that the painted point faces towards the direction as the bolts would go in on the bottom of the strut
 
In the last photo you will see a big fat spacer that needs to go on before the nut goes on the top of the strut .


 Once you have the spring secured on your new rear strut then you can reverse the way you took it off and start putting your struts back .
 
In my case I replaced the sway bar links .


.


Friday, February 20, 2015

DIY - Toyota Camry Front Strut Replacement

This is a DIY on a 2000 Toyota Camry - Removing and Replacing Front Struts , Strut Mounts and Sway Bar Links .


If your gonna remove the struts you might as well replace the sway bar links and strut mounts at the same time .
 
Make sure you use the proper tools - for example use spring compressor to ensure no injury .
 
Make sure you use jack stands .


As you can see those are the original struts and strut mounts , The dot on the strut mounts indicates the way that the high point should be facing when replacing the old ones with the new ones .


Remove the brake line then there is a ABS wire that you carefully unclip from the strut , then from there you remove the sway bar link .


Then with a impact wrench you can loosen the bolts that hold the strut to the spindle . Do not remove the bolts out completely .


Remember if you do not have a dot to mark the area either scratch a mark or with some kind of paint pen put a mark there , so that if your using the old strut mounts you know how they should be facing when you install them or when you install the new ones you know where to mark those , This is very important because there on  angle and you can put them back wrong .


 In this photo above I etched the bottom part of the base that is under the strut mount and you will be reusing that , they must both be facing the same way .


 Then by using the spring compressor to remove the old spring , Compress the spring then remove the center bolt holding the strut then putting the old spring on the new strut still compressed then putting the bump stops and the dust cover back on before installing the top plate and strut mount , Again etching the strut plate and mount facing towards the same direction as the bottom bolts then you can tighten center nut then release the spring .

As you can notice the mount has a angle .


Then you can install the new strut the same way you removed the old ones . In many situations you do not need a alignment because you aren't removing the outer tie rod but it is best you do a alignment due to camber reasons or at least have it checked out .


More DIY at www.COROLLACARCLUB.PROBOARDS.com


.

Tuesday, February 10, 2015

DIY - Valve Cover Gasket Replacement Camry 00

This is a DIY on how to remove and replace a valve cover gasket for a 2000 Toyota Camry with a 2.2 motor .


First you remove the plug wires , If you aren't sure where they go mark your plugs wires , Then you move on to removing the pcv valve and hose , be real careful in this area if you feel like you need to replace these items then this is your chance , Then you remove the hose that connects to the air box .


Once you remove everything then you unscrew the flat nuts on top of the valve cover , This is a unusual place but I think this works a lot better then on some other vehicles , Once you remove the flat nut then you remove the rubber grommet washers that hold the valve cover centered , without removing those washers you cannot remove the valve cover . Then you can remove the cover upwards and start cleaning your cover or any oil that sits on the head .


It is important when you purchase your new valve covers they it comes with the washer grommets . DO NOT USE THE OLD ONES .


Once you have done everything you needed to do then you can put your cover back on , Not forgetting to put the washer grommets on and make sure you hand tight starting from the two center then the outer ones . If needed to make sure the washer grommets seat correctly use your other hand to help guide them as you hand tighten .

Once you hand tighten then you tighten lightly with a ratchet , DO NOT OVER TIGHTEN .


In this case I put a new pcv valve and grommet . Then you put everything back in order in reverse .

 
In about a week or two come back and check the flat nuts just in case the rubber gasket shrunk and hand tighten only .


.

Thursday, August 7, 2014

DIY Corolla 1zz Belt Tensioner Replacement


This DIY is on a Corolla with a 1zz motor , This belt tensioner has 350,000 miles on it and the only reason this one is being replaced is cause its been on to long not because of failure . I had to rent the belt tensoiner tool because the bolt to take out the belt tensioner leaves you no room for a ratchet and to tight for a open end wrench . 


First thing I did was use a open end wrench to loosen the belt tensioner to remove the belt . 


Then with my belt tensioner tool I removed the bolt that holds it to the block , At first I loosened it up before removing completely. 


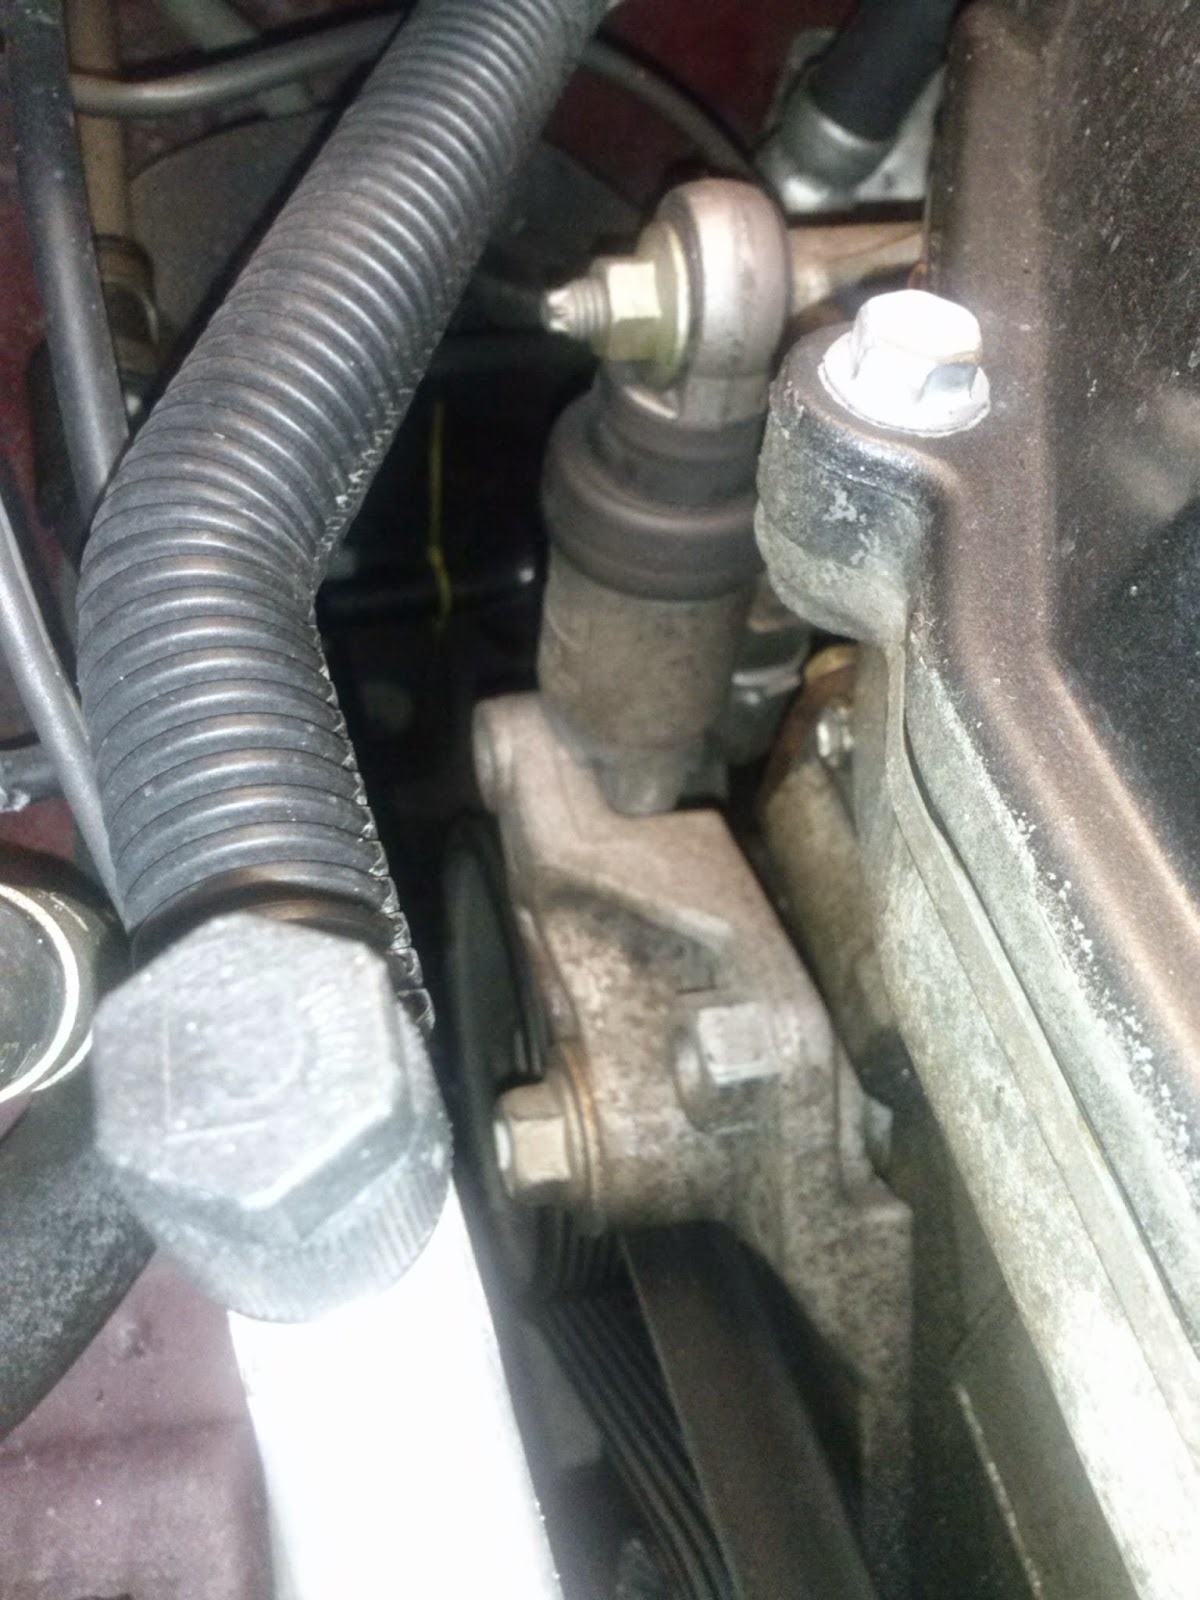
Then I removed the mini shock bolt then I went to unscrew the main bolt to the tensioner . It is very tight in there so be careful for the A/C line to not disturb it , Then you slide out the tensioner from the bottom .


Once removed then you put it back together in the same steps 


Here is a diagram on how your belt runs . 

More DIY at www.corollacarclub.proboards.com


.