Thursday, April 2, 2015

DIY - Front Outer Tie Rod End 2000 Infiniti I30

This is a DIY on a 2000 Infiniti I30 removing and replacing a outer tie rod end .


Remove the cotter pin from the bottom
 
 
Then you can remove the castle nut
 
 
Then with a outer tie rod tool you can pop off the part from the spindle
 
 
Remember to count or mark where the old outer tie rod end was so that you can get it as close as you can before you get a alignment
 

Loosen the locking nut then remove the outer tie rod


Once you are done with the steps the you can put everything back and head to your local alignment shop and get it adjusted correctly
 
 
If you don't get it aligned you will eat your tires


.

DIY - Front Strut Replacement 2000 Infiniti I30

This is a DIY on how to remove and replace front struts on a 2000 Infiniti I30


You can start by loosening the bottom bolts on the strut but do not remove the bolt - Then you can disconnect the ABS wire from the strut , Then you can remove the bolt that holds the ABS wire ,Then you can push off the clip that holds the brake line to the strut
 
 
Notice in this you will see a hook facing up - This is important that it goes back to its original spot when completed


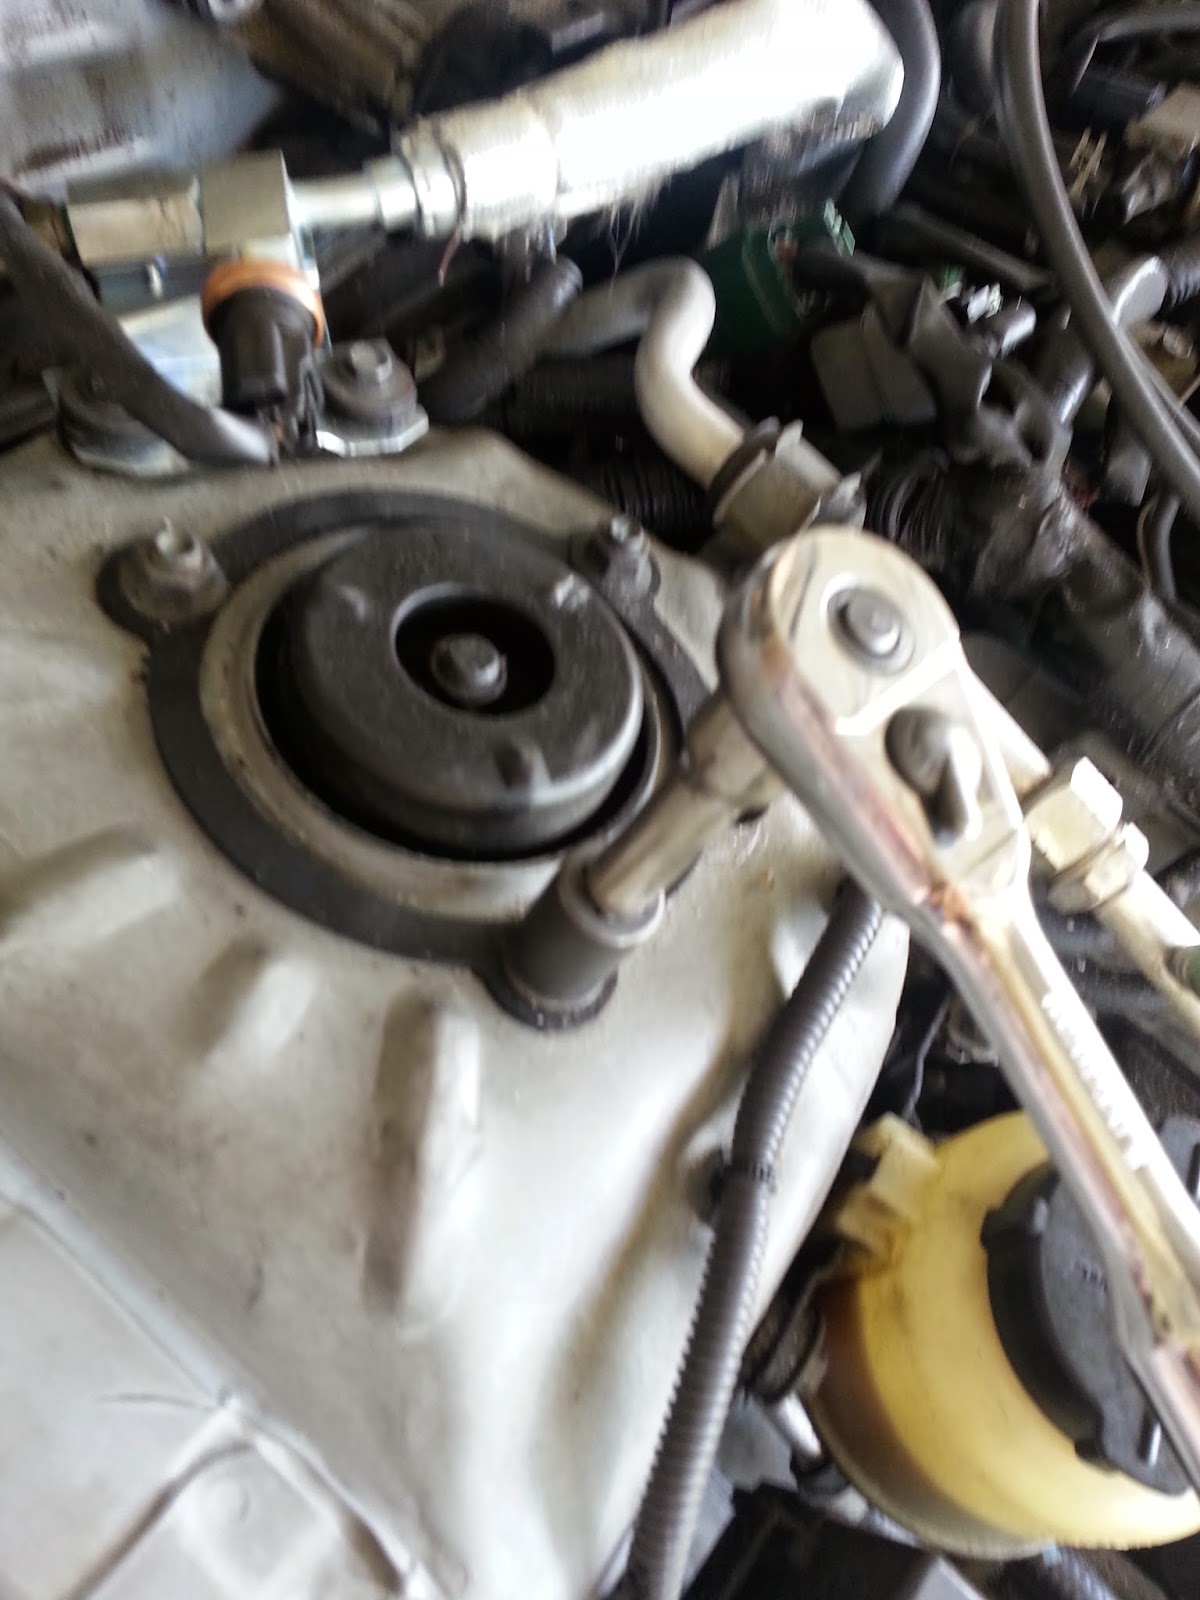
Once you completed the bottom then you can remove the nuts that hold the strut mount to the vehicle


This is very important to remember to keep the word OUT towards the tires


Then by using the spring compressor then you can remove the center bolt that holds the strut plate to the strut


Remember to line up everything when putting back the strut mount cause this separates as the photo above


Once you put your spring on the new strut then you can reverse the process


.

DIY - Rear Strut Replacement 2000 Infiniti I30

This is a DIY on how to replace rear struts on a Infiniti I30 .


Remove the panel from the trunk behind the back seats you will see two clips - Once you remove the panel you will see the rear strut mount nuts through a brace - There is a slot on top where you can slide the ratchet extension through .


Then you remove the bottom bolt and the strut will slide out .


Then with your spring compressor , Compress your spring then you will see in the photo I have a special socket for the top of the strut so that you can unscrew the nut - If you don't have that socket then use a wrench or vise grip .


Once you remove the old spring to the new strut then you can reverse the procedure and out your rear strut back .


. 

Thursday, March 26, 2015

DIY - Replacement Front Motor Mount 2000 Honda CRV

This is a DIY for a 2000 Honda CRV front motor mount .
 

First thing you do is remove the bottom of the splash guard .


Once you remove the splash guard you will see the front motor mount - There are 3 bolts holding it down - You will need to make sure you support the bottom of the engine just in case the engine drops a little .


You will notice a difference in the bracket - Make sure you put it on the same way - In this photo will see a black mark to indicate its the bottom .


Once you remove the front motor mount you put it back on the same way .


.


Thursday, March 19, 2015

DIY Replacing A/C Condenser Fan Honda CRV 2000


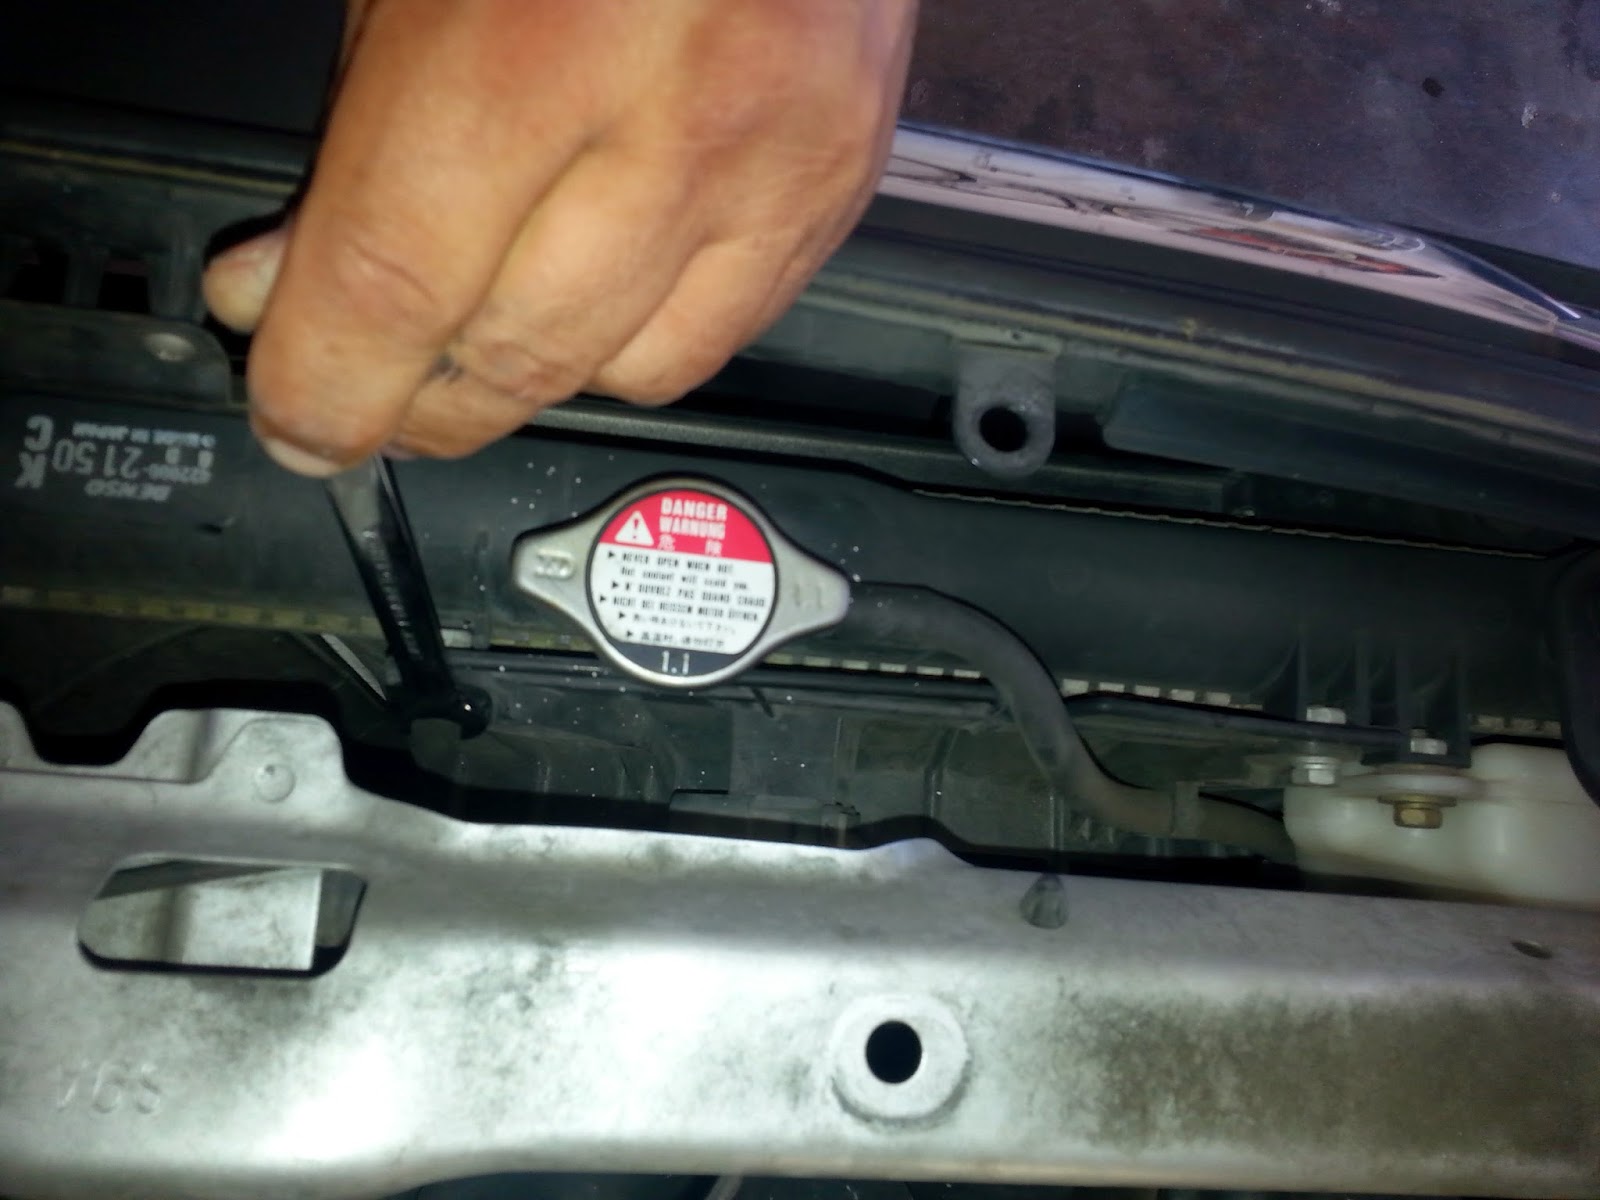
This is a DIY on a 2000 Honda CRV - First you remove all the clips on top of the radiator so that the shield can be taking off to see the fan .


Once you remove the plastic shield you will take off the two nuts holding the fan that is to the LEFT of the radiator - The RIGHT side is for the temperature switch . Then you remove the reservoir for the antifreeze .


There is a bracket that holds the radiator down remove those on each side on the top , Then you remove the bracket that is holding the grill and the plastic bumper off to - This way you can lean the radiator forward and pull out the fan


On the bottom you remove the clips that hold the water shield to the vehicle - You need to remove the little drain hose from the bracket of the condenser fan and a plug that is clipped to the bracket .


Once everything is loosen then you pull the radiator forward carefully and remove the fan from the top .


Then once you remove the fan you follow the steps in reverse to put the new fan back - You might have to purchase new clips cause when they are old they break - There is about 25 or more clips better to purchase them from eBay where they are cheaper .


.