Showing posts with label 98 - 02. Show all posts

Thursday, August 21, 2014

DIY Corolla 98 - 02 Brake Light Switch Replacement


This is a DIY for a brake light switch replacement on a Corolla . This can DIY can be use on most Toyota vehicles or others cause the switch is located on most cars in the same area .


Follow the brake pedal all the way up till you see where the power brake booster shaft and the pedal shaft meet . From there you will remove the small spring that keeps the pedal forward . Once you remove the spring you will see the brake light switch .


The easiest way to remove this is to unplug the switch first then with a open end wrench there is a nut that locks the switch to the frame , one you loosen that nut then you can unscrew the switch from the bracket . 


Then you put the switch back , Now there is a plastic piece that the button pushes on , make sure that the plastic piece is still there and not cracked or broken , Sometimes these go first and give false readings , In this case your brake lights will stay on constantly . 


Make sure you adjust the pedal to the switch , You want to as soon as you step on the brakes that the back lights come on . You must be careful you don't kill the battery when you do this cause the brake lights will stay on until switch is installed properly . Once you have it adjusted then you tighten the locking nut to the frame . Make sure you put the spring back on as well . 


More DIY @ www.corollacarclub.proboards.com 


,

Thursday, August 7, 2014

DIY Remove and Replace Radiator & Thermostat 98 - 02 Corolla


This is a DIY on how to remove a radiator and thermostat on a Corolla . First you drain out the radiator , then you remove the two bolts that hold the brackets to the radiator , then you remove the upper and lower hoses from there you disconnect if you have a automatic corolla the transmission lines . From there you lift up the radiator and remove it and sit the new one and the old one side by side . 


Once you put the fans on the new radiator then you remove the alternator where the thermostat will be .


As you can see this thermostat has been in this corolla since 1998 and has 350,000 miles on it , The reason this was replace because the radiator had shown signs of crack and that too has been in the vehicle since 1998 . So I did the maintenance and replaced both . As you can see the thermostat has slight rust because I DO NOT USE WATER I use radiator fluid with water wetter to lubricate the system . 


Once you put everything back together then you make sure you get all the bubbles out then add your water wetter . 


As you can see the water wetter keeps the car running cool 

More DIY at www.corollacarclub.proboards.com 


.

DIY Harmonic Balancer & Main Seal Replacement Corolla 98 - 02

This is a DIY to remove and replace the harmonic balancer & main seal of a 98 - 02 Corolla . In this DIY you will see i have the car half apart but there is no need to do this because I was in doing another MOD .


Find yourself a torque bar and remove the serpentine belt and remove the spark plug wires so that the car does not crank over . Prop your torque bar either to the ground to somewhere that will keep it from moving . Make sure the pressure is for counter clock wise . Once torque bar is in place then crank the vehicle slightly till bolt breaks . Then remove the bolt by hand . This is very dangerous DIY so this is at your own risk . 


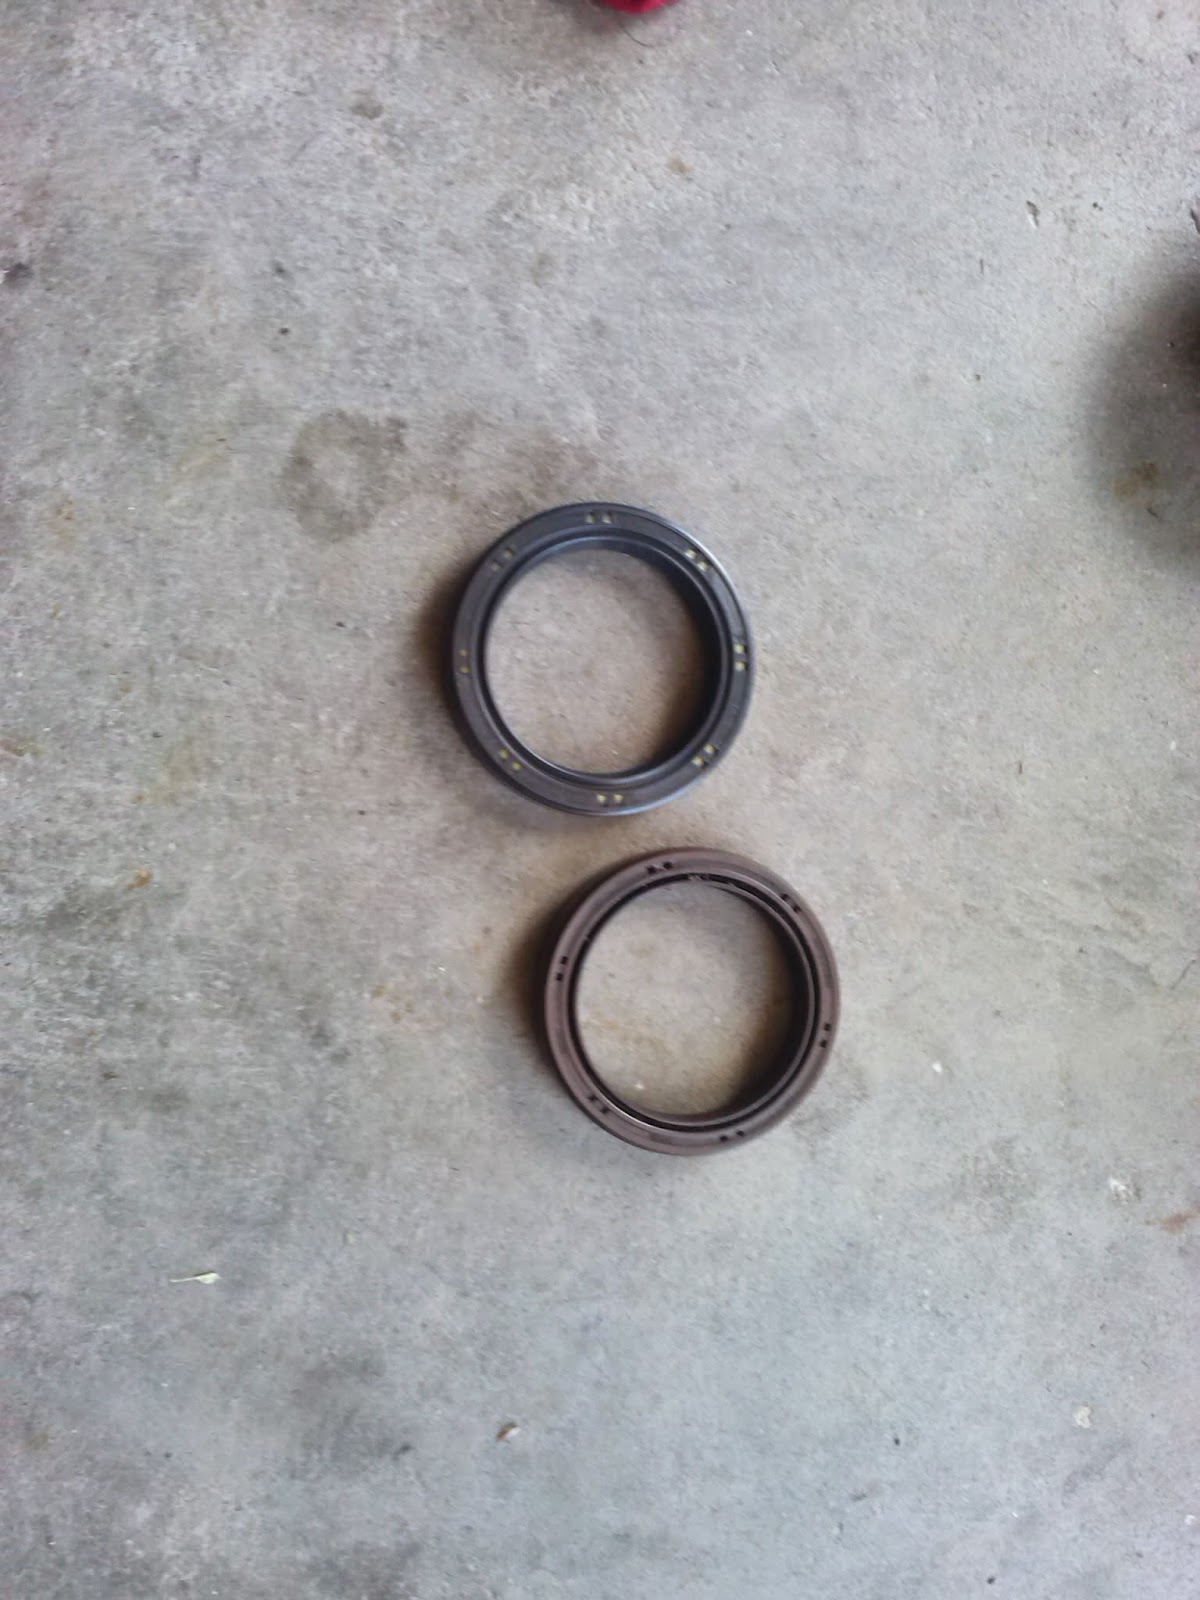
Once you slide off the harmonic balancer then you can remove the seal be careful of the crank positioning sensor . Once you replace the seal and the balancer then you can put everything back but this time you can hand tight the bolt to the balancer and as the car runs it will tighten up that bolt .


Once you have the balancer on then put your belt on .

More DIY at www.corollacarclub.proboards.com 


.


DIY 8th Gen Corolla Modification Stereo Install

In this DIY I will show you how you can use your stereo brackets on a 8th gen Corolla when your stereo doesnt have the holes in the side for them to be screwed on . plus with out using a stereo instal kit . Most stereos will screw in but others wont . 


Once you remove the face plate of your stereo make sure you dremel the opening so that the stereo can slide in and out with ease . Some stereos you don't need to do this but this MOD is for the ones that make it difficult . In this case this is a flip screen stereo so you need room for the stereo to open up and close . 


This part here takes some time cause you have to put the face plate back on and pull the stereo out and then measure how far it sticks out , Once you have made your measurements make sure you mark with a marker where the OEM brackets will be placed when installing the stereo . Then with the help of Plasti Proxy you apply some on each side and then place the brackets so that it will bond to the stereo , be careful with the openings you don't want the glue to go inside . 


Once the perma plastic dries then you install the stereo , still in test mode to make sure its the proper measurements and then test the flip mode as well . 


Then install the face plate for the stereo and then your DIY is completed . 

I find it that this plasti weld has come in handy for many things and bonds tight . 

More DIY www.corollacarclub.proboards.com 


.

Wednesday, May 8, 2013

DIY - 98 - 02 Corolla Key Ignition Switch Replacement


This is a DIY for a Key Ignition switch on a 98 - 02 Corolla .


If you have tilt steering pull down on the handle to the left and let your steering be loose . Make sure key is in ignition . Then you remove the bottom screw and the 2 screws in the front behind the steering wheel . The way to get to this is to turn your wheel left and right . Once you remove the 3 screws you can pull apart the cover .


Once you have the cover off then you can remove the ignition switch light . You don't need to unplug it you can remove the clip and the ring will come off .


With the key in the ACC position find a pointy tool and push the button on the bottom and at the same time pull the ignition switch with the key in it out . You cannot remove the ignition switch with out the key in the ACC position .


Once you remove the old one then you can slide the new ignition switch in the hole , Then you can put everything back on the same way you took it off .
 
The key will be sticky cause it is new so don't force to turn the key or spray WD 40 let it happen naturally . The key will loosen up in time .


.