Showing posts with label คลับรถโคโรลลา. Show all posts

Monday, September 7, 2015

DIY Front Brakes & Rotors 05 -08 Corolla

This is a DIY for a 05 - 08 Toyota Corolla . This DIY will show you how to remove and replace front brakes and rotors .


There is two bolts holding the caliper , Once you remove the two bolts then with a flat head screw driver you pull the caliper forward , Once you remove the caliper again with a flat head screw driver you spread apart the front pads . 

It is important to replace hardware kit or at least lubricate the pins and the hardware before reinstalling pads .


To remove the rotors you need to remove the caliper bracket - There are two bolts on the inside that hold the bracket to the spindle - Clean and inspect studs because this is a opportunity to replace any of needed . Once you remove old rotor spray with brake cleaner the new rotor to remove and oil on it.


Before pushing the caliper piston back pull top up on the brake master cylinder reservoir - DO NOT REMOVE THE RESERVOIR CAP COMPLETELY OFF ONLY JUST POP IT AND REST IT ON THERE - BATTERY FLUID SHOULD NOT BE EXPOSED TO THE AIR FOR TO LONG IT CAN CAPTURE MOISTURE IN THE AIR AD BECOME CONTAMINATED .


Once you have done all the steps then apply anti seize to any of the bolts and reassemble .

No need for brake flush unless you opened the bleeder or if its time to bleed your brakes .

Close top of the reservoir check to see if fluid needs to be added . Pump brakes pryor to starting your vehicle until pedal comes up .


More DIY @ www.COROLLACARCLUB.proboards.com


.


Monday, October 27, 2014

DIY - Tire Paint for Temporarily White Lettering


This is a real simple and quick DIY on how to make your tires temporarily have white letters , You can find this at O'riellys Auto Part store . They come in 3 colors . It's made by Dupli Color tire paint . The one I'm using is the white one HT-100 . 

Make sure before you do this you have plenty of time to let this dry , It at least needs 5 days of water free and 24 hours at least before driving . 


Make sure you clean all of the tire with alcohol before you apply this , you want to make sure you have any tire shine off or grease off the tire so that the paint will stick , Follow the directions because you have to shake it for a while and every time you apply , Make sure the letters are on top so you can push down like a pen . Follow and trace your tire .


Once you finish you can apply tire shine .

Apply more when needed , this does fade and some times cracks ,

The good thing about this :

It's temporally 
Looks nice 
Can last long time 

The bad thing about this is 

It fades 
If you have stretched tires it scrapes off on the road so you must re apply as needed 


More DIY - www.corollacarclub.proboards.com 


,

Thursday, August 7, 2014

DIY Harmonic Balancer & Main Seal Replacement Corolla 98 - 02

This is a DIY to remove and replace the harmonic balancer & main seal of a 98 - 02 Corolla . In this DIY you will see i have the car half apart but there is no need to do this because I was in doing another MOD .


Find yourself a torque bar and remove the serpentine belt and remove the spark plug wires so that the car does not crank over . Prop your torque bar either to the ground to somewhere that will keep it from moving . Make sure the pressure is for counter clock wise . Once torque bar is in place then crank the vehicle slightly till bolt breaks . Then remove the bolt by hand . This is very dangerous DIY so this is at your own risk . 


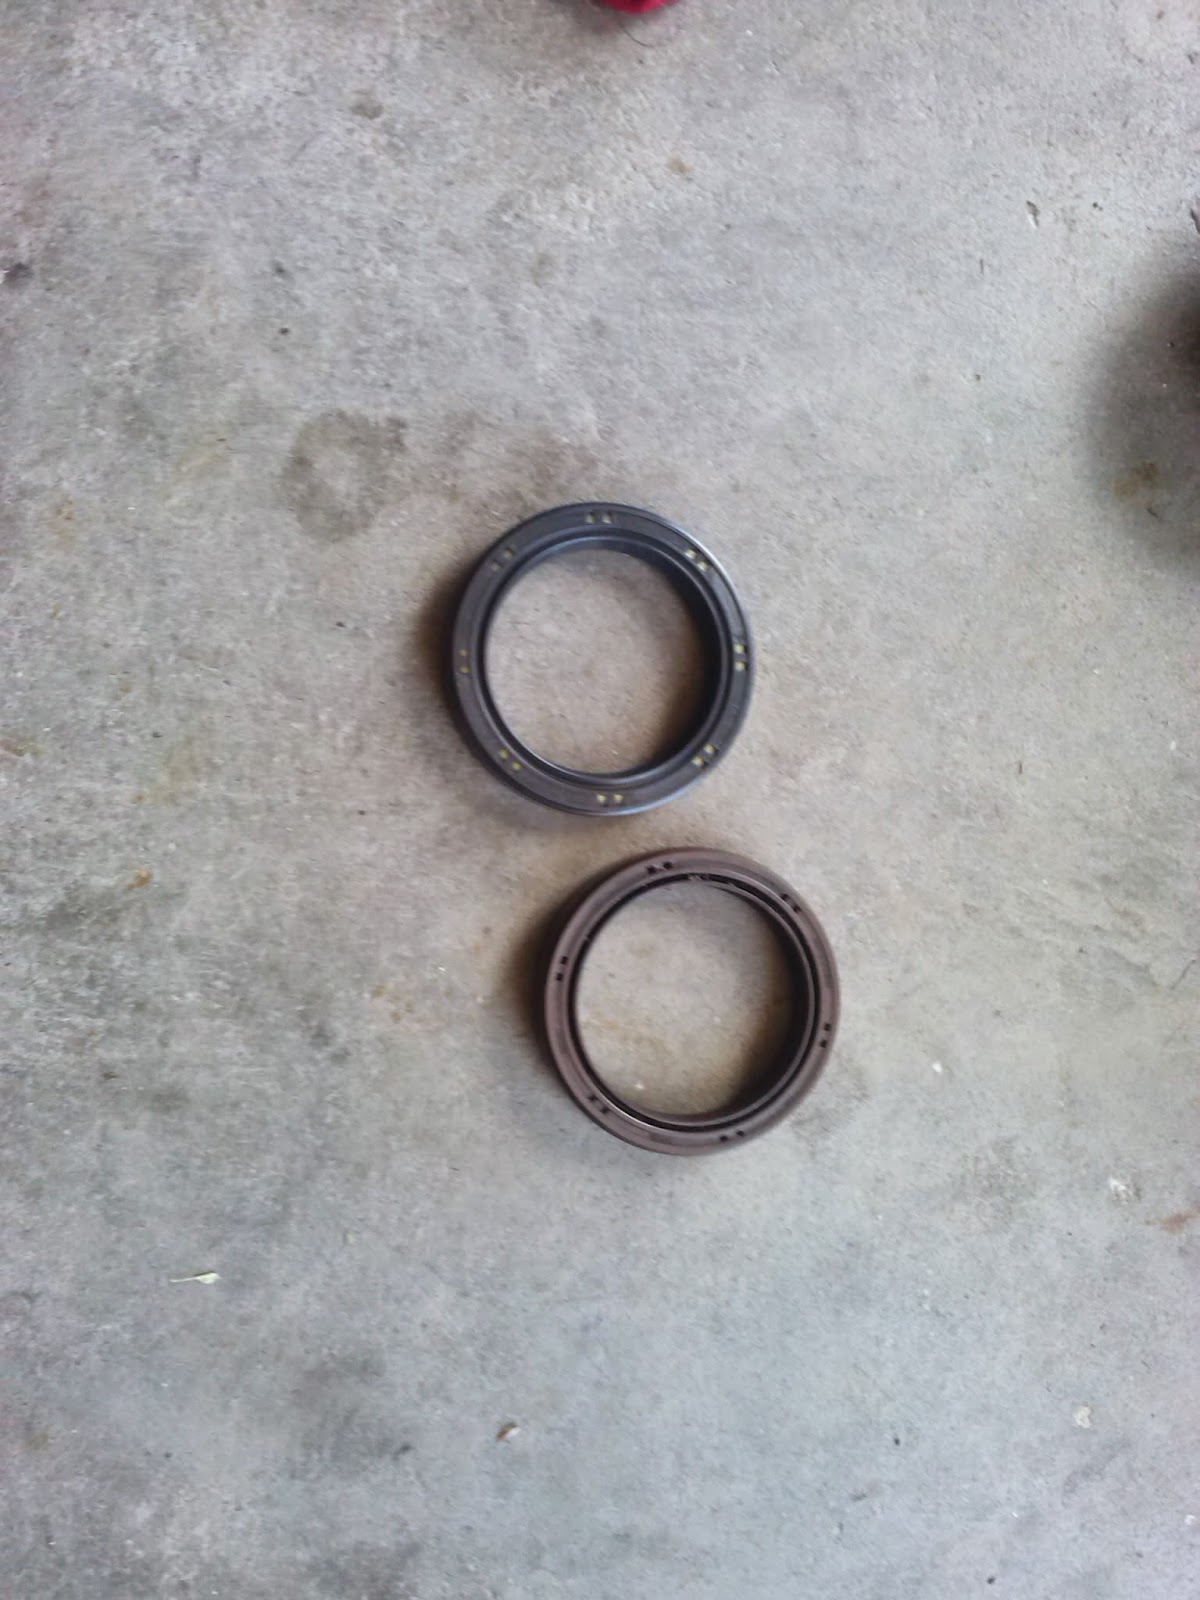
Once you slide off the harmonic balancer then you can remove the seal be careful of the crank positioning sensor . Once you replace the seal and the balancer then you can put everything back but this time you can hand tight the bolt to the balancer and as the car runs it will tighten up that bolt .


Once you have the balancer on then put your belt on .

More DIY at www.corollacarclub.proboards.com 


.

Wednesday, August 6, 2014

DIY - Quick Release Bumper Clips


    This is a easy DIY for your front bumper to quick release it when you are to low to be towed or to get over speed bumps , Even if you want to take it off so you wont get bugs on it before a show you can drive with no bumper then instal it on real quick . This DIY even makes it easier to work on your car when need to remove the front bumper . 


This kit is real simple and comes with screws and nuts . Easiest way i did it was to remove the bumper ,


You mainly measure and drill a whole so that you can stretch the rubber ring around the hooks and so that when they are hooked it will pull up on the bumper to stay fit with the fender and wont rattle . 


Once you are complete you can twist it or you can leave it open in the center . Make sure you put the two top bolts to hold the top and the quick release clips to hold the nose and side to the fender .


More DIY www.corollacarclub.proboards,com 


.

Wednesday, March 14, 2012

DIY - Basic Stereo Swap

This is a basic stereo installation but this was done on my 98 Corolla .


Purchasing the stereo kit is way easier then to cut wires to your old stereo just in case you like to put your old one back .


Basically remove the cover with a flat head screw driver then unplug all the wires from the hazard and clock , Then unscrew the stereo then unclipping the stock wire harness .


This year Corolla as many you don't need a stereo installation kit you can use the side ones off the stock stereo .


Once you finish then put everything back together it's as simple as that , Follow all the directions for wiring it's not hard to do the only reason I put the pink wire on the side is cause this is a DVD stereo and that's the emergency brake wire so that the DVD will play while your driving . It's illegal to drive with a video playing .

More info on WWW.corollacarclub.proboards.com

Wednesday, November 30, 2011

DIY - Home Depot Lip

Well, here it is...


Took me about 30 minutes to do, and that was with the car on the ground. It would probably be easier if it were jacked up some and on jack stands...

Tools and Materials:

10mm Socket and Ratchet

Pointy Screwdriver (Or drill)

Wire Cutters

Scissors

Zip Ties

3M Outdoor double sided tape

Garage Door Bottom (I got it in a 12 foot roll. Only need about 7-8 feet)


Directions:


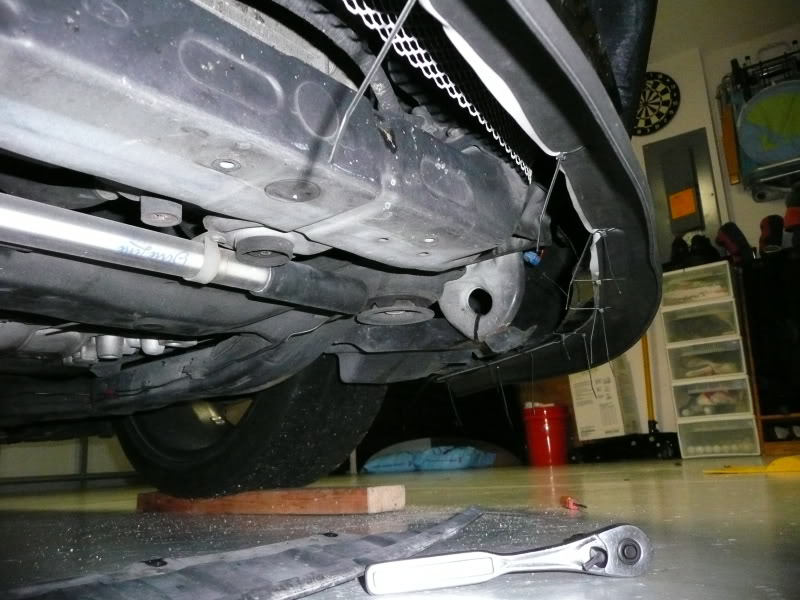
 First, you'll need to remove the radiator guard under the car. You can do this by taking out the 5 bolts pictured below.


Once you have that off, lay out the Garage Door Bottom along the bumper on the ground.


Take the double sided tape, and stick it along the edge of the garage door bottom. I left a little gap from the edge so it would be less noticeable...


 Now, hold the lip up to the bumper, and decide where you'd like it to be placed. Whether you like it recessed in a little, or on the edge. I went for a middle ground with it...


Next, stick it onto the bottom of the bumper. I found out that once you stick it on the bumper, it doesn't like to be taken back off. So get it right the first time :p


Next, keep unrolling the tape along the garage door bottom as you go around the bumper.


Then, work your way around the bumper. Make sure to take your time, checking the spacing to make sure it's even. If it's not, it WILL be noticeable. When going around any curves, make sure to push the lip into the corners so it sits flush with the bottom of the bumper. If you don't, you'll have a hard time getting it to curve with the bumper.


Then, once you worked your way all the way around, using scissors, cut off the excess garage door bottom.


Now, I clamped the edges to make sure the lip wouldn't start to come off while I secured it in place. Then, I took my pointed screwdriver and just pushed it through the lip, and the bottom of the bumper.


 Once I did that, I just fed through a zip tie.


 After that, pull the zip tie tight, and make sure it is secured as this will be the main thing holding the lip on. Once you've done that, move down about 4-5 inches, and make another hole, feed through the ziptie, and pull it tight. Repeat this as you work your way around the bumper.


When you get to a corner or spot where you have to keep the lip pressed up against the bumper, use a few zip ties to make sure it stays tight along the bottom of the bumper.


Now, take those wire cutters and snip off the extra stems on the zip ties to clean it up a bit...


Now, replace your radiator guard that you took off in the beginning by putting those 5 bolts back in, and you're all done!


Pictures of the final product...