
This is a DIY on how to replace your thermostat and your hoses .


First thing you do is drain your anti freeze and remove the intake hose .


Once you have drained everything then you remove the top and bottom hose .


Removing your thermostat housing then disconnect the thermostat temperature wire , Always remember how the thermostat faces when you remove the housing .


Then you flush out your radiator and your head with a hose forcing out the old anti freeze . Clean off your thermostat housing especially where the hose clamps on . Make sure you clean all the areas before putting your new hoses back .
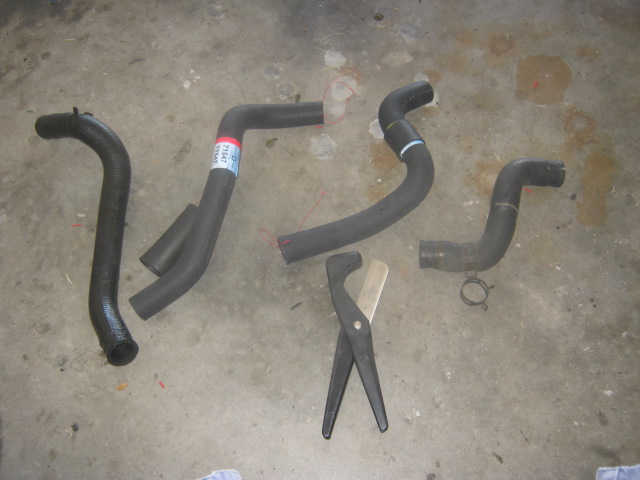


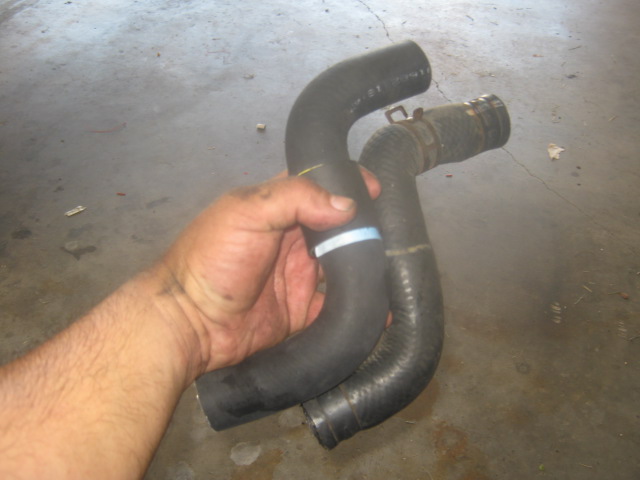
Check all your hoses and clamps . Some hoses are cut to fit , make sure when measuring you mark it before you cut . You don't want these hoses to kink so make sure you cut straight .


Then you put the new thermostat rubber gasket on completely in my case I added a tiny bit of water pump gasket maker , You don't have to do this cause the rubber gasket will seal it but you do what you want in my case I use it . Making sure the thermostat is facing the correct way and the gasket sits inside the housing and when you put this back make sure it is flat before putting the screws on . The gasket must not get pinched .


Then you put your hoses and new clamps on . I always make sure when putting the clamps on that the nut faces me for future work so that it is easier to take on and off . Auto parts store sell a gel to put inside the hose so that it would make it easier to take off on future jobs .

The I removed the over flow tank and cleaned it out and taking out the old anti freeze so I wouldn't contaminate the new one . Never put water in here . If you live up north it will freeze and break the plastic .


You can purchase the 50/50 pre mixed anti freeze or in this case I bought the concentrated and mixed it myself . If you have another container put half of the concentrated into it then fill the rest with water . Some areas where you live in the winter you want more anti freeze that way it keeps the heat in your car warmer but if you live in the areas it doesn't get as cold you mix 50/50 .


Then I filled up the over flow reservoir first filling it more then the full line so as the days pass what the car needs it will suck up . Check this in one week just in case you need to top it off . Then you can start adding to your radiator only half at first .


This is a good time to add some water wetter protectant and anti freeze cooler . This can be used in any state especially recommend if you do this is the summer in hotter states . Then start your car and put the heat on so that the anti freeze fluid can flow through and you can check and see as you are filling up the radiator . If you get hot air coming out you are ok but after time and still no hot air then you have a air pocket . On some cars they have a bleeder valve on this one you just run the car till the thermostat opens and you will see the bubbles come out and see the anti freeze flow .


I wounded up with one whole container of anti freeze and 1/4 in the other . Then you check for leaks put everything back .

This is when I started the car .

This is after driving 6 miles with the air conditioning on .

This is after sitting for 5 minutes as you can see the water wetter is working and keeping the engine a little below the center line .
I recommend you never put only water in your radiator it will do more damage in the end . Check your hoses and fluid level in about a week as things settle .
More information or help you can contact me at www.CorollaCarClub.proboards.com or http://rinconrolla98.blogspot.com
No comments:
Post a Comment