Showing posts with label removing. Show all posts

Monday, June 1, 2015

DIY Rear Motor Mount 2000 Honda CRV

 This is a DIY on a rear motor mount for a 2000 Honda CRV 


 Its easier to remove the air intake on this DIY but you can do it with it on it 


Three bolts on the bottom and one in the center but I took it upon myself to remove the bracket since I had the car all opened up 


To remove the bracket you have two bolts on the top and one on the bottom


Once you are done then you just install it the same way you took it off 


More DIY www.COROLLACARCLUB.proboards.com 


,

DIY Driver Side Transmission Mount 2000 Honda CRV

This is a DIY for the driver side transmission mount for a 2002 Honda CRV 


This DIY you can either remove the air box or not but in my personal opinion its easier and more space to work with plus I was doing all of them and its easier to get to the back as well .


In this DIY I did remove all the bolts but only loosened the center bolt that goes through the transmission mount 


I wound up removing the bracket on the bottom again you can leave this on but it was more easier again to work with so I removed the bottom bracket as well .


Once I removed everything I put the center bolt back in the bracket so when I out everything back together it went smooth .


More DIY - www.COROLLACARCLUB.proboards.com 


.

DIY Passenger Side Motor Mount 2002 Honda CRV

This is a DIY for a 2002 Honda CRV passenger side motor mount replacement 


This is a real simple DIY  - All you have to do is support the motor on the bottom with a piece of wood on a floor jack raise it up enough to tough the pan - If needed with that cushion you can raise or lower gently - Total of 6 bolts to remove after you move the power steering pump over .


Its self explanatory in the photos - Once you remove the bracket first on the side of the motor then you can remove the bolts that hold in the motor mount - Remember motor mounts are not just replaced because they are broken they should be replaced because of mileage and they do sink - Changing these can help you with your CV shafts to cause the motor should be up not down binding the CV shafts .


More DIY at www.COROLLACARCLUB.proboards.com


.

Thursday, March 19, 2015

DIY Replacing A/C Condenser Fan Honda CRV 2000


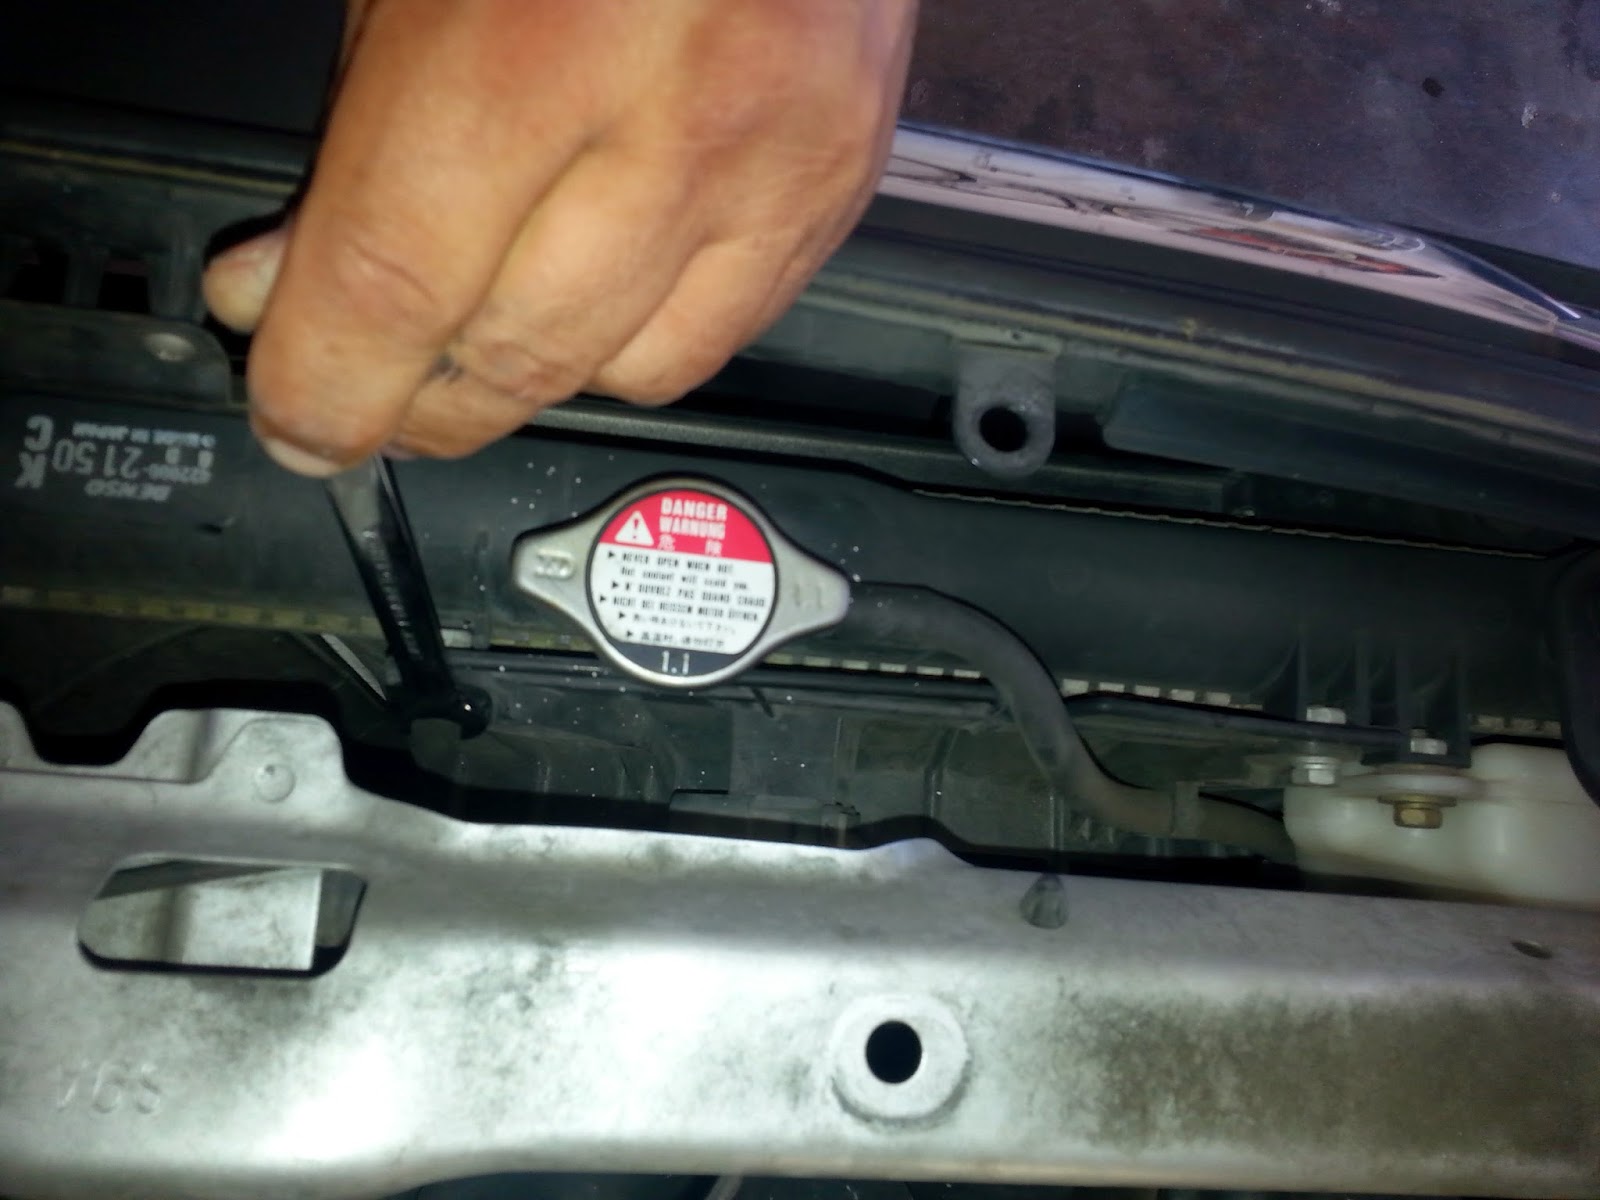
This is a DIY on a 2000 Honda CRV - First you remove all the clips on top of the radiator so that the shield can be taking off to see the fan .


Once you remove the plastic shield you will take off the two nuts holding the fan that is to the LEFT of the radiator - The RIGHT side is for the temperature switch . Then you remove the reservoir for the antifreeze .


There is a bracket that holds the radiator down remove those on each side on the top , Then you remove the bracket that is holding the grill and the plastic bumper off to - This way you can lean the radiator forward and pull out the fan


On the bottom you remove the clips that hold the water shield to the vehicle - You need to remove the little drain hose from the bracket of the condenser fan and a plug that is clipped to the bracket .


Once everything is loosen then you pull the radiator forward carefully and remove the fan from the top .


Then once you remove the fan you follow the steps in reverse to put the new fan back - You might have to purchase new clips cause when they are old they break - There is about 25 or more clips better to purchase them from eBay where they are cheaper .


.

Tuesday, February 10, 2015

DIY - Removing & Replacing a Power Steering Hose 2000 Infiniti I30

This is a DIY on a 2000 Infiniti I30 on how to remove and replace a power steering pressure hose .


This hose is located on the passenger side by the back of the motor near the fire wall , Do not confuse this hose with the A/C hose . In the yellow arrows indicates the hose and the route of the pressure hose . The red arrow shows you that this vehicle comes with a power steering pressure switch . SIDE NOTE - REMOVE THE POWER STEERING PRESSURE SWITCH FIRST FROM THE HOSE - IF YOU FEEL THAT YOU ARE GONNA BREAK THE SWITCH OR CANNOT NOT REMOVE THE SWITCH I RECOMMEND THAT YOU GO PURCHASE ONE FIRST - THIS IS A DEALERSHIP OR CAR QUEST PART - YOU CANNOT FIND THIS PART ON EBAY  - THIS IS A $80 PART .
 
Then you can remove the power steering hose metal line on the left from the hose then the two bolts that hold the bracket down that holds the hose .


Once you remove the power steering pressure switch ( NOT UNPLUG ) I mean the part then you can slide the hose over to the right then remove the green plug in the red arrow then the bracket that holds the power steering hose to a bracket in back of the motor .


Then you remove the passenger side tire and you will see where the bracket for the sway bar bushing above that will be the easiest way to remove the bottom bolt that holds the hose .
 
Once you remove that pull the hose from on top out .
 
Then you just in reverse put the hose back on , Top it off with power steering fluid .
 
 
I purchased the hose on eBay where the price was good and the fit was perfect , You might not have to use the bracket to hold the hose because of the protective cover from the heat .
 
Again make sure you can remove the power steering pressure switch .


.