Showing posts with label camry. Show all posts

Wednesday, May 31, 2017

DIY Cargo Net Modification for a 9th gen Corolla

This DIY Modification is for a 9th gen Corolla using a Camry cargo net . Part number for this is PT347-33021 .


You will noticed on each side of the trunk there is a plastic clip that needs to be removed . 


You have to modified the hook slightly and find a screw that fits in the whole . 


Once you have that then you screw in the hooks and there you now have a cargo net in your Corolla . 


More DIY on www.corollacarclub.proboards.com


.


Tuesday, April 5, 2016

DIY Gauge Cluster LED Upgrade Bulbs 2000 Toyota Camry

This is a DIY Gauge Cluster upgrade or replacement bulbs on a 2000 Toyota Camry 


Remove the two screws then your gonna need a flat head screw driver on each ends then pull towards you 


You will see four screws holding the gauge cluster 


Twist and turn bulb out - Be careful you do not damage anything in the back of the cluster - Choose what ever color you wish to put in - Test before putting the cluster back that the LED are working 


Then there you have it nice and bright 


More DIY at www.corollacarclub.proboards.com 


.

DIY Third Brake Light Bulb Replacement 2000 Toyota Camry

This is a DIY for a 2000 Toyota Camry third brake like . 


There is really not much to it but you pull back the case for the third brake like then untwist the bulb then replace .


More DIY at www.corollacarclub.proboards.com 


.

DIY Replace Hood Lift Supports 2000 Toyota Camry

This is a DIY for a 2000 Toyota Camry hood lift supports .


Make sure you have a stick to hold your hood up or someone to help on this DIY - The OEM did not have a release clip so I had to unscrew the ball from the hood . 


The new hood supports came with new hardware plus the upper part did have the release clip so that future DIY will be easy .


More DIY at www.corollacarclub.proboards.com


.

Wednesday, February 3, 2016

DIY Replace Radiator Over Flow Tank 2000 Toyota Camry


This is a DIY on how to replace your coolant over flow tank on a 2000 Toyota Camry 


In this DIY I'm using the OEM part - There are two bolts holding this to the inside of the fender 


Make sure you use the bracket from the old over flow tank and then you put it back the same way you took it off - fill with coolant and your back to normal 


More DIY @ www.COROLLACARCLUB.proboards.com 


.

Tuesday, April 7, 2015

DIY - Front Brake and Rotors 2000 Toyota Camry

This is a DIY for front brakes and rotors for a 2000 Toyota Camry


First you remove the top and bottom bolt that holds the brake caliper to the bracket - Once you have taken the caliper off then you remove the front pads - If needed help use a flat head screw driver - Once you have the pads off remove the two bolts holding the caliper bracket to the spindle - From there you can remove the rotor


Make sure you inspect the new rotors to the old ones - In this year Camry there is a difference between a 14 inch rim and a 15 inch rim - Rotors do come in two different sizes - If you are using slotted rotors make sure they are facing the correct direction


Then with a brake caliper tool push the caliper back


Once you are done then you can replace everything back the same way you took it off


. 

Thursday, February 26, 2015

DIY Removing & Replacing Rear Struts 2000 Toyota Camry

This is a DIY for rear struts on a 2000 Toyota Camry


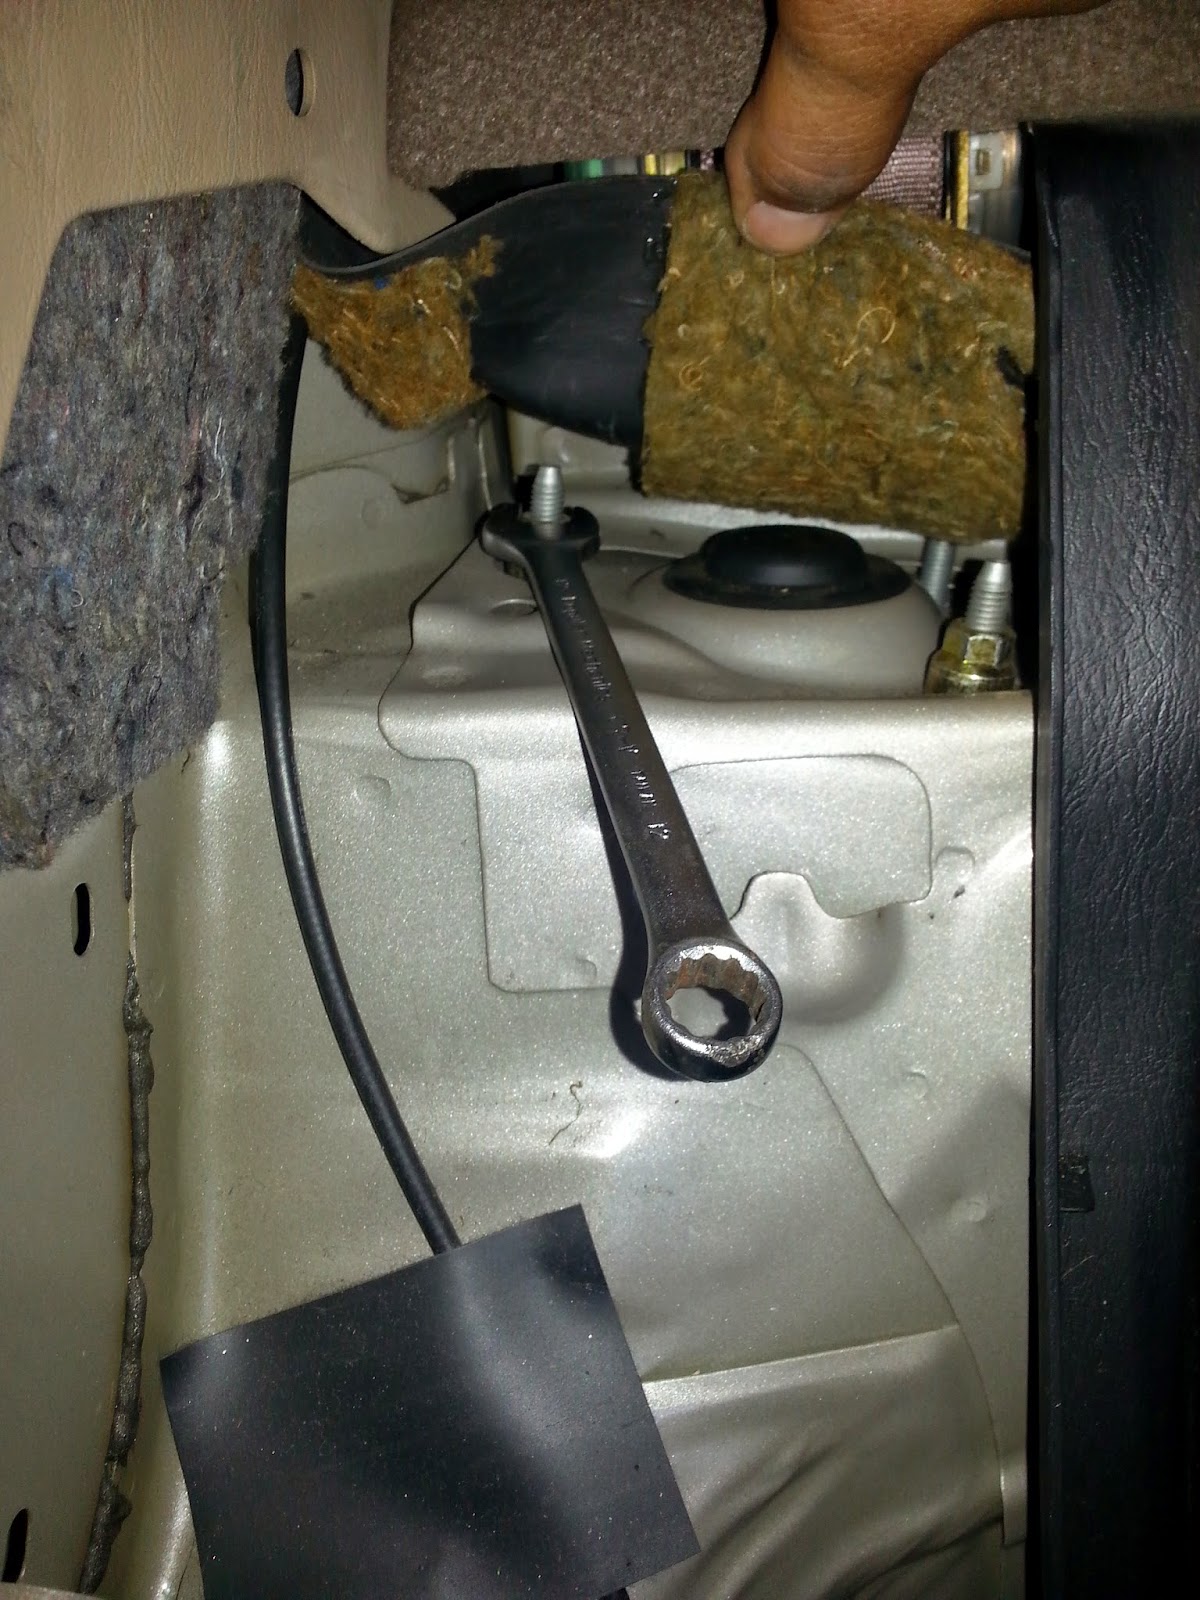
First you have to remove the bottom portion of the rear seat and then remove the side corners ONLY if you have fold down seats . If you DO NOT have fold down seats you have to remove the entire back seat . This is how you get to the rear strut mounts .


Remove the bolt for the brake line and the rear ABS wire .
 
 
Then from there you loosen the strut bottom bolts only removing the nuts


Then remove the rear sway bar links
 
 
Once you remove everything above in the photos either place the tire or a block and this is to prevent the rear drum to drop and ripping apart the ABS wire cause the drum will go to almost near the floor . One you secure that then you can remove the bolts that hold the bottom strut
 

 Then from there you can remove the top nuts for the strut mount and then the strut will drop on the support rear area .


What I found out about this DIY is that the rear springs aren't as difficult to remove with out a spring compressor tool . But if you don't feel safe use one . In my situation I didn't need one and when I put the spring on the new strut I hand pushed it down to put the top nut on .
 
Remember if using the old strut mounts that the painted point faces towards the direction as the bolts would go in on the bottom of the strut
 
In the last photo you will see a big fat spacer that needs to go on before the nut goes on the top of the strut .


 Once you have the spring secured on your new rear strut then you can reverse the way you took it off and start putting your struts back .
 
In my case I replaced the sway bar links .


.